
converting bathtub to walk in shower: A Vancouver Guide
November 19, 2025

Turning your old bathtub into a walk-in shower is one of the smartest upgrades you can make to your bathroom. It’s a move that immediately boosts safety, accessibility, and gives the whole room a clean, modern feel. For homeowners here in Vancouver and the surrounding areas like Burnaby and Richmond, it's also a project that adds real value, taking a dated bathroom and turning it into something that feels more like a personal spa.
The process itself involves pulling out the old tub, adjusting the plumbing, properly waterproofing the entire shower area, and then bringing in all the new fixtures and finishes.
Why a Walk-In Shower Makes Sense in Greater Vancouver
For those of us living anywhere from Burnaby to West Vancouver, swapping a tub for a walk-in shower is far more than a simple cosmetic touch-up. It's a strategic investment in your home's long-term liveability and value.
Think about it: the high side of a standard tub is a daily hazard for so many people—seniors wanting to stay in their homes, anyone with mobility challenges, or even parents bathing young kids. In fact, a recent study showed that over 60% of older adults are seriously concerned about slips and falls in the bathroom.
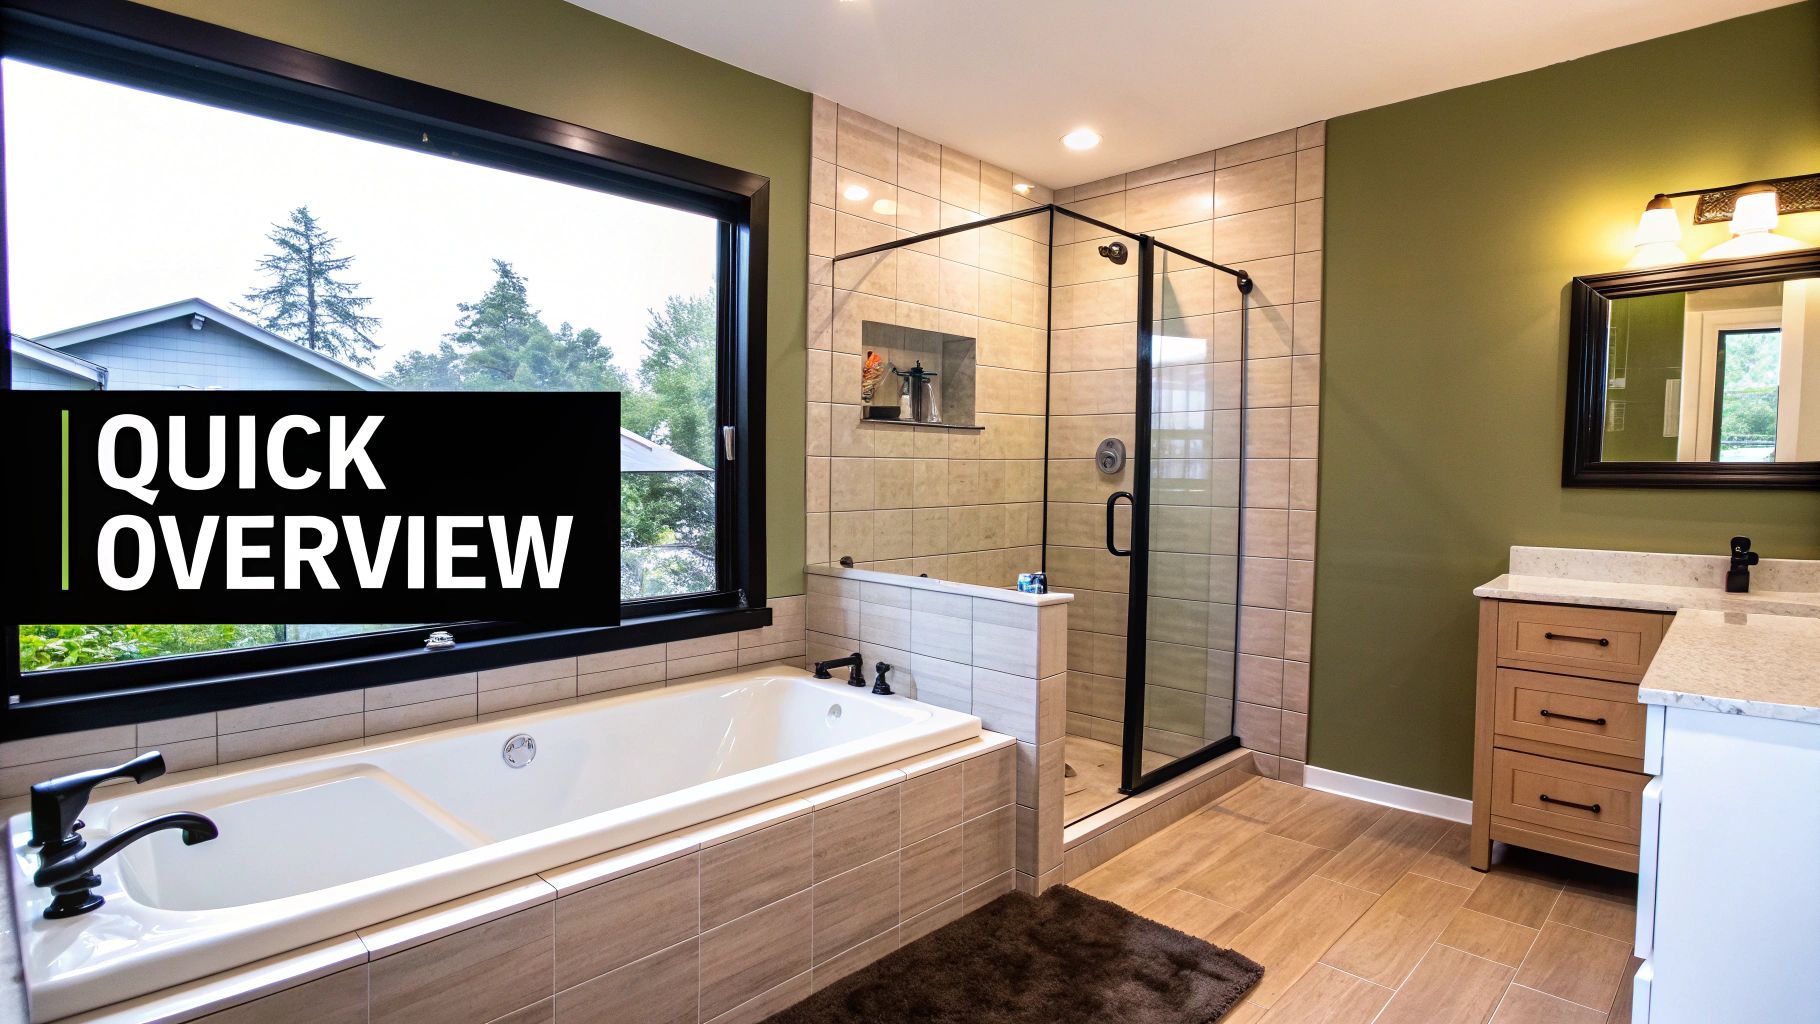
This kind of renovation tackles that safety problem head-on by creating an easy-access, low-threshold entry. But the benefits don't stop there, especially for life in Metro Vancouver:
- Improved Accessibility: A barrier-free shower is just plain safer and more comfortable for everyone. This is a huge plus for the many multi-generational households you see in communities like Richmond, Burnaby, and Coquitlam.
- Modern Aesthetics: A sleek glass shower instantly opens up a room, making even a small Vancouver bathroom feel bigger and more luxurious—a sought-after feature in our often-compact city condos and homes.
- Increased Home Value: Buyers notice updated bathrooms. In competitive markets like North Vancouver and West Vancouver, a beautiful walk-in shower is a feature that can make a property stand out. You can get some great ideas by looking at different bathroom renovation projects to see what’s possible.
- Easier Maintenance: Let's be honest, cleaning around a clunky tub is a pain. A properly designed walk-in shower, especially one with large-format tiles or solid panels, eliminates those awkward corners and is much simpler to keep sparkling.
This project is a forward-thinking upgrade. It not only enhances your daily routine but also strategically positions your home to meet future needs, whether for personal accessibility or appealing to a wider range of buyers in the Vancouver area.
From a practical standpoint, the conversion happens in distinct phases. Each step, from the first design sketch to screwing in the final shower head, has its own timeline and costs. For homeowners in Port Moody or New Westminster, getting a clear picture of these stages is the first step toward a smooth, successful project. We're about to break it all down so you can move forward with confidence.
Planning and Design: What Works for Vancouver Bathrooms
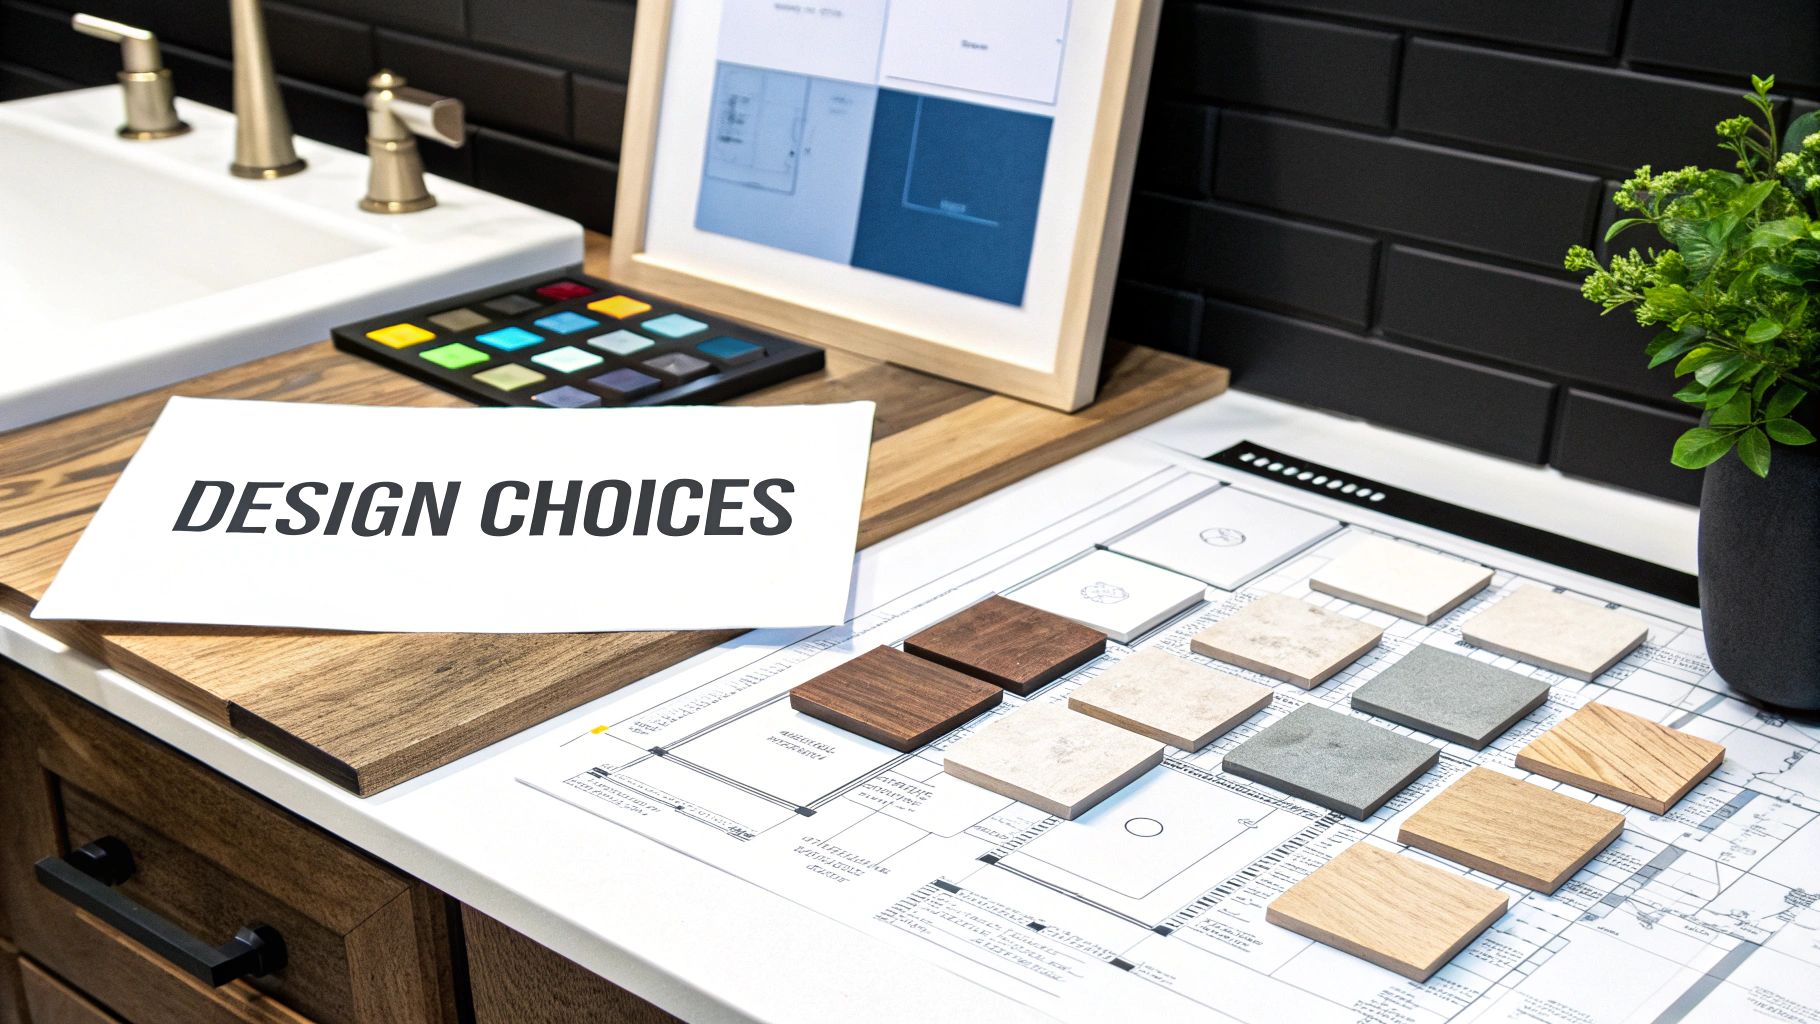
Alright, let's get into the fun part. Converting your old tub into a walk-in shower is where you can really make your mark on your home. This is your chance to create a space that not only works better for you but actually reflects your personal style.
We’re not just talking about any shower here; we're talking about one built for life in Greater Vancouver. The choices you make for your home in rainy West Vancouver might be different from those for a busy family home in Coquitlam, and that’s where smart planning comes in. The goal is a shower that feels both practical and a little bit luxurious—a change that makes your daily routine better and adds real value to your property.
Material Selection for Our Coastal Climate
If you live anywhere around here, you know the deal: it’s damp. Vancouver’s humidity is a huge factor in a bathroom renovation, so picking materials that stand up to moisture and ward off mould is essential, whether you're in Burnaby, Richmond, or up on the North Shore.
Your first big decision is usually between classic tile and modern, solid-surface panels. Large-format porcelain tiles are fantastic for minimizing grout lines and giving you endless design options, but the waterproofing underneath has to be perfect. On the other hand, seamless acrylic panels offer a completely grout-free surface, which makes them incredibly easy to clean. We see these go into a lot of busy family homes from Port Coquitlam to Surrey for that reason alone.
Here’s a quick breakdown of your options:
- Porcelain & Ceramic Tile: The design potential is nearly limitless with all the colours, textures, and patterns available. It's tough as nails, but its longevity completely depends on a top-notch waterproofing and grout job.
- Acrylic Wall Panels: You get a seamless, non-porous surface that’s a breeze to wipe down. While the design choices are a bit more limited than tile, the installation can be quicker.
- Natural Stone: Nothing beats the high-end look of stone, but it often needs regular sealing to prevent stains and water absorption—a real consideration in our climate.
A well-planned shower conversion is a powerful investment. Recent data shows that 70–80% of bathroom remodel costs are recouped on resale, with walk-in showers and accessibility features providing an even higher return in the Vancouver market.
Integrating Accessibility and Modern Style
A truly great walk-in shower blends form and function so well you barely notice it. This is especially true if you’re planning to age in place or need to accommodate mobility challenges. The good news? Accessible design has come a long way from the clinical look of the past.
Take frameless glass doors, for example. They instantly make a smaller New Westminster or Port Moody bathroom feel bigger and more open, all while getting rid of the clunky metal tracks that are a pain to clean. Another smart feature is a recessed wall niche. It gives you a perfect spot for shampoo and soap without jutting out into your space, keeping the shower lines clean and uncluttered.
Here’s how to blend sharp looks with practical accessibility:
- Low-Threshold or Curbless Entry: This is the heart of an accessible shower. Getting rid of that curb eliminates a major trip hazard.
- Strategic Grab Bar Placement: Modern grab bars look great. They come in finishes like matte black or brushed gold and can even double as a towel rack or shelf while still providing the support you need.
- Non-Slip Flooring: Always choose a textured tile or a shower base with a certified slip-resistant surface. It’s a simple choice that makes a world of difference.
Thoughtful lighting plays a huge part, too. A waterproof recessed light right inside the shower stall improves visibility and safety. Meanwhile, putting the main bathroom lights on a dimmer lets you create a more relaxed, spa-like vibe when you want it.
For a deeper dive into creating a space that works for you now and in the future, check out our guide to bathroom renovations in Vancouver for more ideas. Ultimately, the best designs prove that a safe bathroom can absolutely be a stunning one.
Navigating Permits and Building Codes in Greater Vancouver
https://www.youtube.com/embed/IFHoesdhZnk
Before you even think about swinging a hammer, let's talk about the paperwork. It’s the least glamorous part of any renovation, but trust me, getting it right from the start is crucial. Converting your tub to a walk-in shower often means digging into plumbing and sometimes even the structure of your home, and that’s when your local municipality needs to get involved.
Here in Metro Vancouver, every city has its own spin on the permit process, from the City of Vancouver to Burnaby and the District of North Vancouver, but they all fall under the umbrella of the BC Building Code (BCBC). This isn't just about bureaucracy. Following the code protects your home's value, keeps your family safe, and, most importantly, prevents nightmare scenarios and costly do-overs later on.
When Do You Actually Need a Permit?
The short answer? Probably.
Most tub-to-shower conversions will, at a minimum, require a plumbing permit. If your project involves moving walls, framing a new shower niche, or lowering the subfloor for a sleek curbless design, you'll almost certainly need a building permit, too. This holds true whether you're in Burnaby, Coquitlam, or the City of North Vancouver.
If you were just swapping an old tub for a new one in the exact same footprint with no plumbing changes, you might get away without one. But the moment you start rerouting pipes—say, moving the drain from the end of the old tub to the centre of your new shower base—you’ve officially entered permit territory.
A huge driver for these conversions is making bathrooms safer and more accessible, especially for aging in place. Features like a level entry and non-slip floors are fantastic, but they often require structural floor modifications that definitely mandate a permit.
The Key Requirements You'll Encounter
While the front-desk experience might differ slightly between Richmond, New Westminster, and Port Moody, building departments across the region want to see the same core information. You’ll need to submit a set of drawings that clearly lays out the proposed work.
Here’s a quick rundown of what they'll typically ask for:
- A simple floor plan: A "before and after" showing the existing layout and where the new walk-in shower will go.
- Plumbing schematics: A diagram showing how the new drain and water supply lines will be configured and vented.
- Structural details: This is critical for curbless showers. You need to show exactly how you plan to modify or reinforce the floor joists to create the necessary slope for drainage.
- Waterproofing specifications: The city wants to know what products you’re using for the waterproofing membrane and tile backer board to prevent leaks.
This is where a qualified general contractor in Vancouver becomes invaluable. A good contractor handles this entire process—from drafting the technical plans to navigating each city's submission portal and scheduling inspections—saving you a massive headache and preventing the simple mistakes that can delay a project for weeks.
Understanding the Inspection Process
Once your permit is issued, you're not done yet. An inspector needs to see the work at critical stages and give their sign-off before you can cover anything up. Think of it as a quality-control check to protect your investment.
The typical inspection milestones look like this:
- Rough-in Plumbing: Before any drywall or concrete board goes up, the inspector will check the new drain lines, venting, and water supply pipes.
- Framing: If you've done any structural work, they'll verify it’s sound and meets code requirements.
- Waterproofing & Flood Test: This is a big one. Before a single tile is set, the inspector will verify the integrity of your shower pan and walls. This usually involves plugging the drain and filling the base with water for 24 hours to prove it's completely watertight.
- Final Inspection: Once all the fixtures are installed and the project is complete, they’ll come for one last look to officially close out the permit.
Navigating permits might feel like a chore, but it’s a non-negotiable part of a successful, legal, and safe renovation. My advice, based on years of projects in places like West Vancouver and Port Coquitlam, is to start the conversation with your local planning department early. It makes everything that follows run a whole lot smoother.
Getting Ready for Demolition and Structural Work
Alright, you’ve got your plans and your permits sorted. Now for the exciting (and messy) part: demolition. This is more than just swinging a sledgehammer; it’s about carefully dismantling the old to make way for the new. How you handle this stage sets the tone for the entire project, so a smart, methodical approach is crucial for protecting your home and creating the perfect canvas for your new shower.
Before a single tile is cracked, you need to turn your bathroom into an isolated work zone. We always start by laying down heavy-duty floor protection, creating a clear path from the front door right to the bathroom. Then, we seal the bathroom doorway with thick plastic sheeting and a zipper door. This isn't optional, especially in a Vancouver condo or a Burnaby townhome where dust can travel everywhere. It’s the only way to keep that fine, gritty drywall and tile dust from coating every surface you own.
Next, and this is a big one: shut off the water. You'll likely find local shut-off valves for the sink and toilet, but you might need to use the main shut-off for the house. Always, always open the taps after you've closed the valve to make sure the water is completely off before you disconnect anything.
What’s Hiding Under the Tub?
Once the old tub is finally out, you get your first honest look at the subfloor and wall framing. This is a moment of truth. In older homes across the Lower Mainland—from North Vancouver to Richmond—it's incredibly common to find some unpleasant surprises that the tub has been hiding for years.
You or your contractor need to play detective and look for a few tell-tale signs:
- Water Damage: Any dark stains, soft or spongy wood, or that classic musty smell are immediate red flags. A tiny leak from a drain or faucet can cause an incredible amount of rot over decades.
- Mould or Mildew: Look for black, green, or white fuzzy spots on the subfloor or in the wall cavity. This needs to be dealt with by a professional before you even think about building anything new.
- Structural Health: Get a good look at the floor joists. Do they feel solid? Is the floor perfectly level? A heavy, tiled shower needs an absolutely rock-solid base. Any bounciness in the floor is a major problem that must be fixed.
We had a project in Coquitlam where a homeowner’s tub had a slow, barely noticeable leak from its overflow drain. Once we pulled the tub, we found a whole section of the subfloor and the top of a joist had turned to mush. Catching it then meant a straightforward repair for a few hundred dollars. If we had just tiled over it, the weight would have eventually caused a total floor failure, leading to a nightmare repair costing thousands.
Building a Bulletproof Foundation
If you find any of these issues, you have to stop and address them properly. This isn't the place to cut corners. Fixing it could mean cutting out and replacing a section of rotted plywood subfloor. Sometimes, we need to reinforce weak or damaged floor joists by "sistering" them—bolting new lumber alongside the old ones to add strength and rigidity. This is especially critical if you're installing a curbless shower, as that often involves recessing the shower floor into the joist system.
You'll also be amazed at how much waste an old tub, tile, and drywall can create. Managing the debris is part of the job. You can learn about various junk removal services that know how to handle construction waste properly, which keeps your home from turning into a complete mess.
Taking your time with a careful demolition, a thorough inspection, and proper reinforcement is the single most important thing you can do to ensure your new shower lasts. It’s all about building on a solid, stable, and dry foundation that will prevent headaches for years to come.
Laying the Groundwork: Plumbing, Drainage, and Waterproofing
Now that the old tub is out of the picture and the subfloor is solid, we get to the really critical stuff—the work behind the walls and under the floor. This is where a shower conversion truly succeeds or fails. Getting the plumbing, drainage, and waterproofing absolutely perfect is non-negotiable. Even the most beautifully tiled shower is a ticking time bomb if these foundational layers aren't done right.
Here in Metro Vancouver, our homes are no strangers to moisture. That’s why creating a completely sealed, watertight shower enclosure isn't just a good idea; it's the single most important part of a lasting renovation. This stage is all about making sure every single drop of water ends up where it belongs: down the drain.
This simple workflow shows the first critical steps before demolition begins, ensuring the work area is safe and contained.
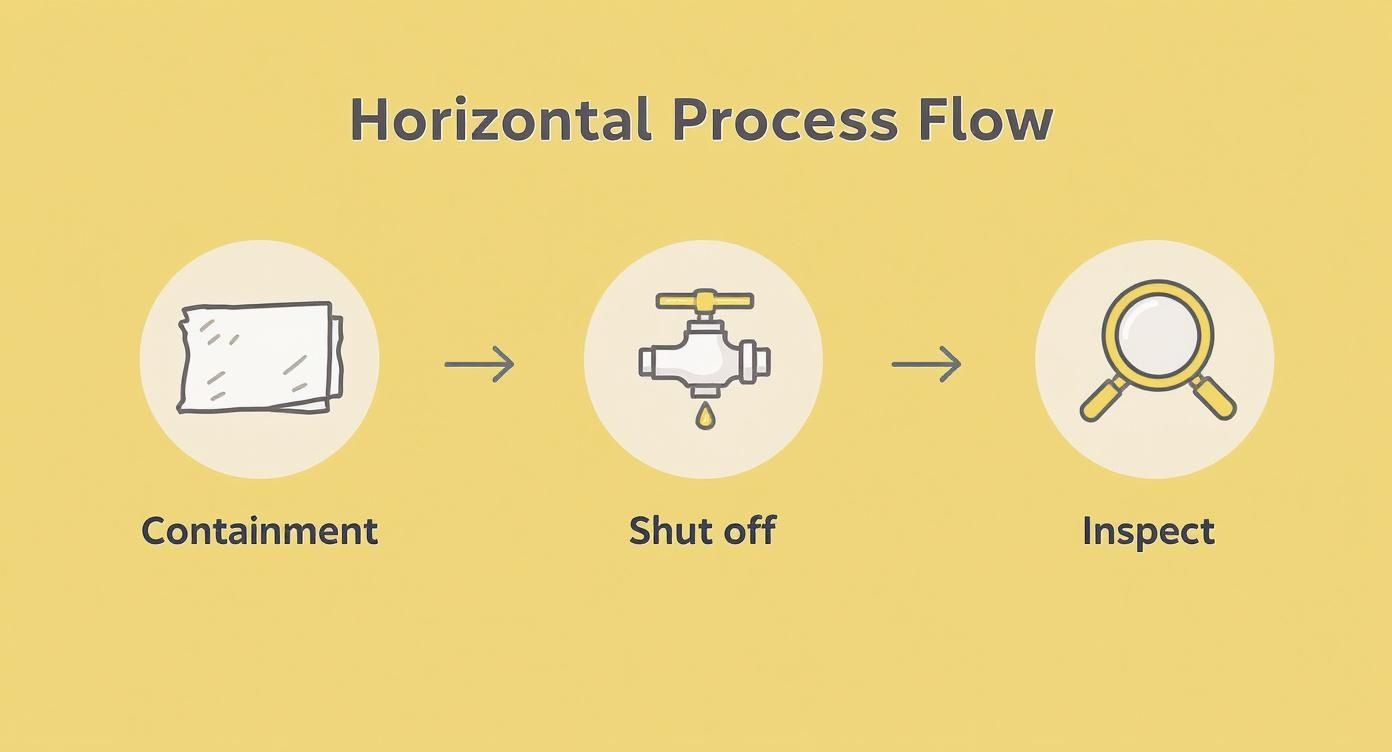
As you can see, getting containment set up, shutting off the utilities, and doing a thorough inspection are the bedrock of a safe and organized project.
Getting the Plumbing Right
First things first: a bathtub’s plumbing is not the same as a shower’s. A tub drain is usually 1.5 inches, but a shower requires a 2-inch drain to handle the water flow properly. The location is different, too, often tucked away at one end. A licensed plumber will need to come in, replace that undersized pipe, and move the drain, typically to the centre of the new shower floor.
While the walls are open, it's the perfect time to upgrade your shower valve. Modern pressure-balancing or thermostatic valves aren't just for better temperature control; they’re a mandatory part of the BC Building Code to prevent scalding. Seriously, this is a cheap and simple upgrade now that can be a major headache later. For homeowners in water-conscious areas like Port Coquitlam or Burnaby, this is also the ideal moment to install plumbing that supports low-flow showerheads, helping you meet local conservation goals.
The Art of the Slope: Drainage and Shower Pans
Proper drainage is a game of millimetres, and gravity is your best friend. The shower floor, often called the "pan," needs a precise and continuous slope towards the drain. The industry standard is a minimum slope of 1/4 inch for every foot.
Get this wrong, and you'll have problems. Too shallow, and water will puddle in the corners, becoming a breeding ground for mould and slowly destroying your grout. Too steep, and it can feel awkward and slippery underfoot.
You’ve got a couple of choices for building this slope:
- Prefabricated Shower Base: These are one-piece acrylic or fibreglass pans with the slope already built in. They're a fantastic, reliable option that makes installation much more straightforward.
- Custom Tiled Base: This is the more traditional route, where a skilled installer hand-packs a mortar bed to create the perfect slope. It gives you unlimited design freedom but absolutely requires an expert touch to get the angles just right, especially for a curbless entry.
On a recent New Westminster project, we went with a curbless design featuring a sleek linear drain along the back wall. This let us create a single, gentle slope across the entire floor—much easier to build and tile than the complex, four-sided slope you need for a traditional centre drain.
Your Final Defence: The Waterproofing Barrier
With the sloped pan in place, it’s time to wrap the entire shower in a 100% waterproof membrane. This is your last and most important line of defence. Tile and grout look solid, but they are not truly waterproof—water will eventually seep through. This membrane is what stops that moisture from reaching the wood framing of your home and causing catastrophic rot and mould.
Around Vancouver, pros typically rely on one of two proven systems:
- Sheet Membranes: Think of products like the orange Schluter-KERDI fabric. These sheets are applied to the walls and floor with thin-set mortar, and every seam, corner, and screw head is sealed with a special banding to create a continuous, waterproof cocoon.
- Liquid-Applied Membranes: Products like RedGard are literally painted or rolled onto the cement backer board. It cures into a seamless, rubber-like barrier. You have to apply multiple coats to build up the required thickness for a proper seal.
No matter which system you choose, the job isn't done until it passes a 24-hour flood test, which is required by code. You simply plug the drain, fill the shower pan with a few inches of water, and wait. It's a simple step that can save you from tens of thousands of dollars in repairs down the road by proving your shower is absolutely watertight before a single tile goes up.
Getting a Handle on Costs, Timelines, and ROI
Let's talk numbers. A realistic budget and timeline are what separate a smooth renovation from a stressful ordeal. When you’re looking at swapping a tub for a walk-in shower here in Greater Vancouver, you need a clear picture of the costs, the time commitment, and the value you’re adding to your home. The final bill can swing wildly depending on whether you’re after a simple, clean prefabricated unit or a custom-tiled, spa-like retreat.
The biggest drivers of your budget are always the same: how complex is the job, what materials are you picking, and what are the going labour rates in your neighbourhood, be it New Westminster or Port Moody? A straightforward conversion using a quality acrylic kit is going to be your most budget-friendly option. On the other end of the scale, a custom-tiled, curbless shower with sleek frameless glass and high-end fixtures will obviously require a much bigger investment.
Breaking Down the Budget in Vancouver
To really get a grip on the finances, I always tell clients to break the costs down into a few key categories. The biggest chunk of your budget, without a doubt, will be labour. You can expect this to eat up 40% to 60% of your total project cost. That covers the plumber, the tile setter, and maybe a carpenter or electrician if walls need to be moved or lighting updated.
Materials are your next big-ticket item, and this is where you have the most control. You can go with affordable ceramic tile or splurge on luxurious natural stone—the choice is yours.
- Prefabricated Kits: These all-in-one units are a fantastic, cost-effective solution. A good quality kit will generally run you somewhere between $2,500 and $5,000 for the materials.
- Custom Tile Showers: This is where the price can really vary. It all comes down to the tile you pick, the intricacy of the design, and the waterproofing system we use behind it all.
- Fixtures and Finishes: Things like faucets, showerheads, and glass doors can range from a few hundred dollars to several thousand, depending on the brand, style, and finish you’re after.
Don't forget about permit fees. In places like Richmond and Coquitlam, a plumbing permit is standard practice, and you might need a building permit if we're making any structural changes. These fees are a minor part of the overall budget, but they're non-negotiable.
For a broader perspective, it's worth understanding the typical walk-in shower installation costs. While this guide is based on another market, it does a great job of showing how labour and materials factor into the final price tag, which is a universal principle.
To give you a clearer idea, here's how the budget might look across different scenarios.
Budget Breakdown For Walk In Shower
This table gives you a rough idea of what to expect for a standard-sized shower conversion in the Greater Vancouver area.
| Scenario | Material Cost | Labour Cost | Permit Fees |
|---|---|---|---|
| Low-End | $2,500 – $4,000 | $3,500 – $5,000 | ~$200 |
| Mid-Range | $4,000 – $7,000 | $5,000 – $8,000 | ~$250 |
| High-End | $7,000+ | $8,000+ | ~$300+ |
Keep in mind these are estimates. A complex custom job with high-end marble and multiple showerheads will push you well into the high-end range, while a simple acrylic kit installation will keep you closer to the low-end.
How Long Will This Actually Take?
A proper bathtub-to-shower conversion is not a weekend warrior project. Even a straightforward installation involves multiple stages—demolition, plumbing rough-in, waterproofing, tiling, grouting—and many of these steps require crucial drying and curing time. For a professional crew working in Vancouver or Burnaby, a realistic timeline is anywhere from one to two weeks, start to finish.
That schedule can easily get pushed out if we open up the walls and find something unexpected, like mould or wood rot that needs to be remediated. Delays can also happen if you're waiting on custom-ordered tile or a bespoke glass enclosure. The key is to get on your contractor’s schedule and have all your materials on-site before the work begins.
Getting a Good Return on Your Investment
Here’s the good news: a walk-in shower is a smart upgrade that almost always offers a solid return on investment. It instantly modernizes the look of your bathroom and, more importantly, it improves accessibility—a feature that is increasingly in demand with homebuyers of all ages.
To get the best bang for your buck, stick with timeless design choices and insist on quality workmanship. A poorly done job will cost you more in the long run.
When it's time to sell, a well-built, properly permitted shower conversion becomes a major selling point. In competitive markets like North Vancouver or West Vancouver, it tells potential buyers that the home has been thoughtfully updated for modern living, safety, and durability. That’s an investment that truly pays off.
Frequently Asked Questions
Tackling a bathtub-to-walk-in shower conversion brings up plenty of questions. Homeowners from Vancouver through Burnaby and Richmond often want clear, local advice before diving in.
How Long Does a Typical Conversion Take
Expect your bathroom to be offline for about one to two weeks for a typical project in Coquitlam or New Westminster.
That window covers strip-out, adjusting plumbing, waterproofing, laying tile, and fitting fixtures. Hidden water damage or waiting on custom glass or specialty tile can stretch the schedule.
Is a DIY Tub to Shower Conversion a Good Idea
It’s tempting to save on labour, but this conversion touches critical waterproofing and plumbing under the BC Building Code.
A misstep here can lead to leaks, mould growth, and structural repairs far pricier than hiring a licensed professional. In high-value markets like West Vancouver and North Vancouver, code-compliant work is non-negotiable.
Curbless vs Standard Curb: What Is Better
Your choice hinges on budget, accessibility goals, and floor structure.
-
Standard Curb
• Cost-effective and straightforward to waterproof
• Ideal when you don’t need barrier-free access -
Curbless Shower
• Sleek, modern entry that’s wheelchair-friendly
• Requires precise floor sloping and extra framing work
Port Moody and Port Coquitlam homeowners love curbless designs, but plan for added complexity and cost.
The best waterproofing for our damp West Coast climate is a robust, professionally installed system. Whether using a sheet membrane like Schluter-KERDI or a liquid-applied product, the key is meticulous installation and passing a 24-hour flood test before tiling begins.
Ready to bring your vision to life? The experts at Domicile Construction Inc. guide every step—from initial plans to the final tile. Plan Your Perfect Walk-In Shower With Us Today.