Renovating a Kitchen on a Budget in Vancouver
February 8, 2026

It's absolutely possible to renovate your kitchen on a budget in Vancouver. The trick is to focus on high-impact, cosmetic upgrades rather than getting bogged down in expensive structural changes. From my experience, smart planning is everything. It's about knowing where to spend your money and understanding that keeping your existing layout is the single biggest cost-saving decision you can make.
Your Smart Start to a Budget Kitchen Renovation
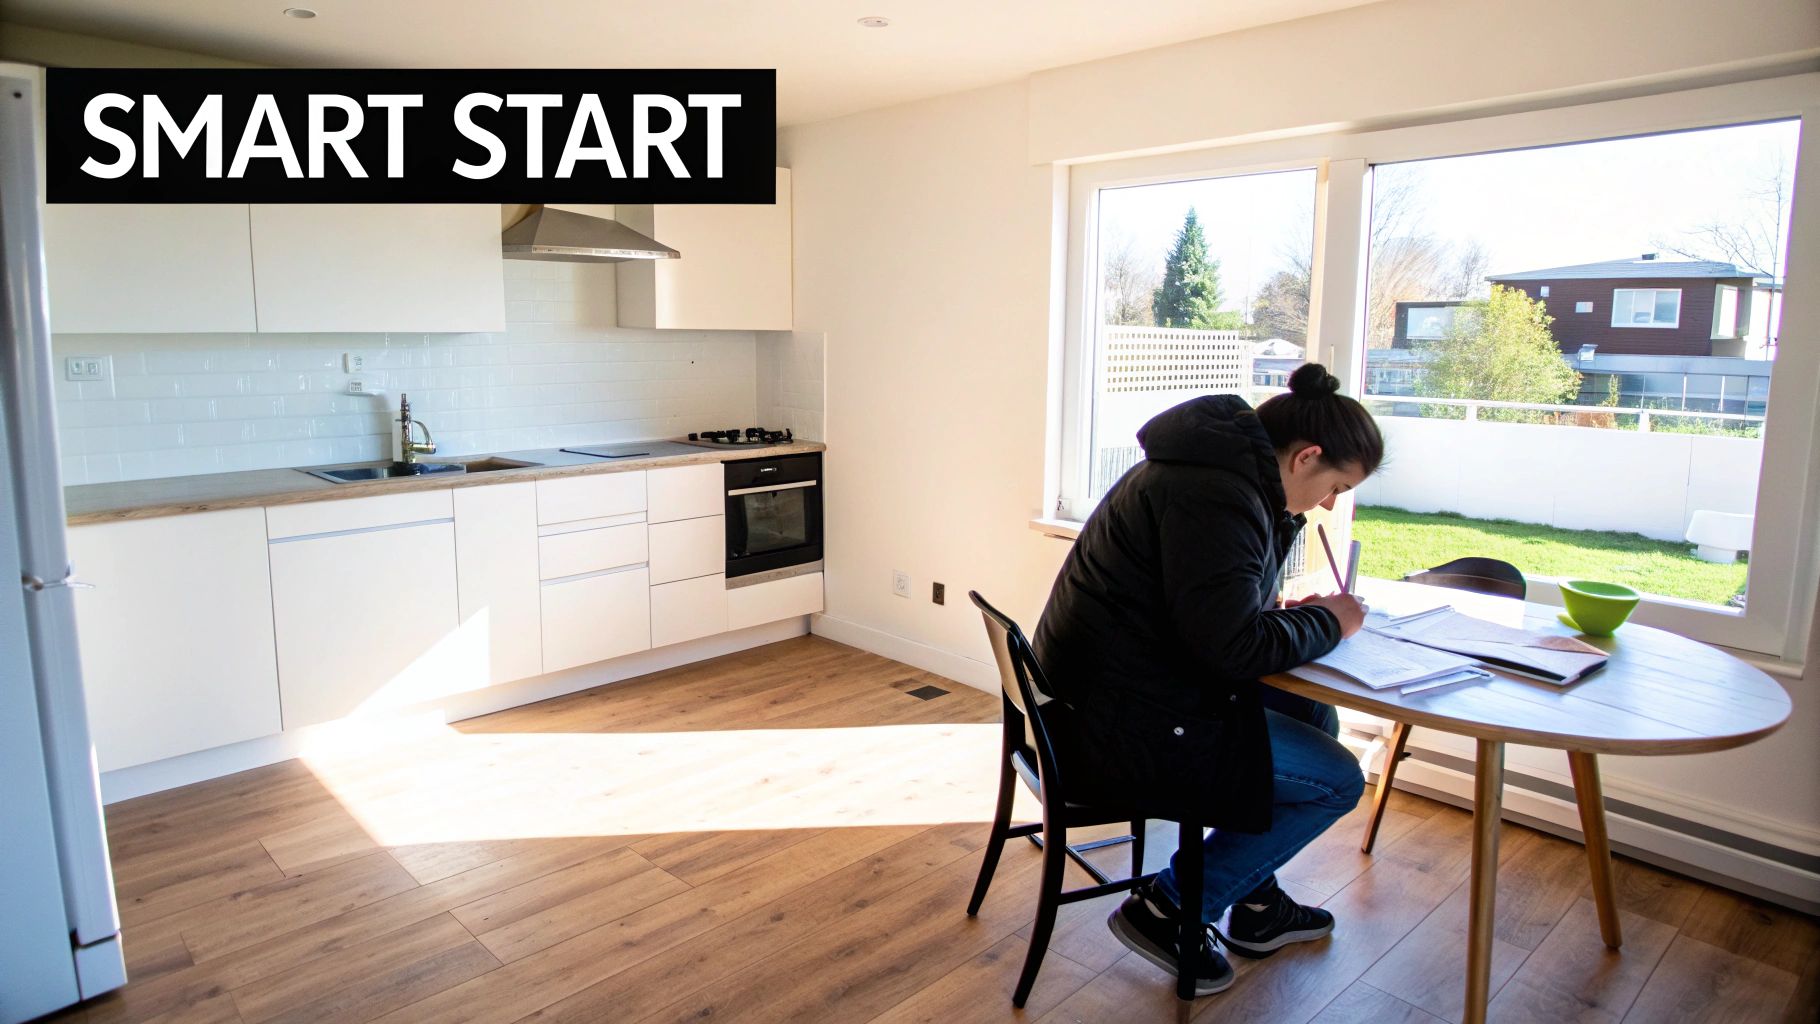
Dreaming of a beautiful, functional kitchen doesn't have to mean draining your savings—not even in the pricey Metro Vancouver market. The secret to a successful and affordable kitchen makeover is a strategic approach that balances eye-catching cosmetic updates with essential functional improvements. This way, you're putting your funds toward changes you can actually see and feel every single day.
A common misconception I see among homeowners from Burnaby to West Vancouver is that a real renovation means tearing everything down to the studs. But honestly, the most successful budget-friendly projects I've worked on are built on a simple philosophy: work with what you've got. Let that be the principle that guides every decision you make.
Needs vs. Wants: The Foundation of Your Budget
Before you fall in love with tile samples or paint colours, the first crucial step is to get real about your 'needs' versus your 'wants'. This exercise is the bedrock of a realistic budget and is your best defence against costs spiralling out of control.
Your list of needs might look something like this:
- Fixing that leaky faucet that's been slowly ruining the cabinet below.
- Replacing a cracked countertop that’s just not sanitary anymore.
- Adding better lighting over your main prep area because it’s too dark to chop veggies safely.
Your wants, on the other hand, are the desirable upgrades that aren't strictly necessary for the kitchen to do its job. This could be splurging on high-end quartz countertops when a quality laminate would do, or getting brand-new custom cabinets instead of refacing or painting your existing ones.
By focusing your budget on solving the real problems first, you ensure every dollar is spent on what truly matters. The 'wants' can then be addressed with whatever funds remain, often through creative, lower-cost solutions.
Vancouver Kitchen Renovation Cost Tiers at a Glance
To give you a clearer picture of what to expect, here's a quick breakdown of typical project scopes and budget ranges for kitchen renovations in the Vancouver area, including Burnaby, Richmond, Coquitlam, and the North Shore.
| Renovation Tier | Typical Budget Range (CAD) | Scope of Work | Best For |
|---|---|---|---|
| Cosmetic Refresh | $15,000 – $30,000 | Painting cabinets, new hardware, updated backsplash, new faucet, modern light fixtures. No layout changes. | Homeowners wanting a fresh look on a tight budget or preparing a home for sale. |
| Mid-Range Remodel | $30,000 – $65,000 | Includes cosmetic refresh plus new countertops (laminate/quartz), new sink, and potentially new appliances. Layout remains the same. | Those needing to replace worn-out surfaces and appliances without the cost of a full gut. |
| Major Overhaul | $70,000+ | Complete gut renovation. May include changing the layout, moving plumbing/electrical, new custom cabinets, and high-end finishes. | Projects where the existing layout is dysfunctional or for a complete home transformation. |
This table illustrates how quickly costs can climb once you move beyond cosmetic changes. For a budget-conscious project, staying in that first tier is key.
The Power of Preserving Your Layout
By far, the most significant way to keep costs in check is to maintain your kitchen's current footprint. Moving walls, plumbing, gas lines, or major electrical wiring is where renovation budgets truly explode. These changes require extensive labour and often trigger the need for costly permits from municipalities like Coquitlam or New Westminster.
When you keep your sink, stove, and refrigerator in their current spots, you free up a much larger chunk of your budget for the visible elements that define your kitchen's style. This is the strategy that unlocks a stunning transformation without the six-figure price tag of a complete overhaul.
In Metro Vancouver, homeowners can achieve incredible results for as low as $25,000 to $40,000 by focusing on these smart, cosmetic upgrades. Recent industry data shows that a significant number of renovations stayed under this threshold by avoiding structural shifts. You can discover more insights about kitchen remodelling costs and their return on investment to see how this approach pays off. This isn't about cutting corners; it's about making intelligent, value-driven decisions to create a kitchen you'll love for years to come.
Planning and Budgeting Your Renovation Like a Pro
A beautiful, budget-friendly kitchen renovation doesn’t just fall into place—it’s born from a rock-solid plan. Before you even think about swinging a hammer or picking out paint colours, sitting down to map out your project and budget is the single most important thing you can do. This becomes your roadmap, keeping you on track and helping you sidestep those costly mistakes that can plague a reno in Vancouver or Burnaby.
First things first: you need a realistic, all-in budget. This number has to cover everything imaginable, from the big-ticket items like cabinets and countertops to labour, taxes, and any potential permit fees. It’s the little things that often get forgotten, and trust me, they add up faster than you’d think.
When you're trying to make every dollar count, you have to give each one a specific job. Don't just allocate a lump sum for "cabinets." Instead, break it down: the cabinet boxes, the doors, the handles and pulls, and the installation cost. Getting this granular helps you see exactly where the money is going, which makes it much easier to find places to save if you need to.
The Contingency Fund: Your Secret Weapon
In Metro Vancouver, surprises are just part of the renovation game, especially in older homes you find in places like New Westminster or the District of North Vancouver. You never know what you’ll find when you open up a wall—it could be outdated wiring, old water damage, or a structural issue that needs to be addressed immediately. This is precisely why a contingency fund isn't just a nice-to-have; it's essential.
I always tell my clients to set aside 15-20% of their total project cost for this fund. This isn't "extra" cash for fancy upgrades. It's a non-negotiable safety net for the unexpected. So, if your planned renovation costs are $25,000, your actual budget should be closer to $30,000 to account for this buffer.
Think of your contingency fund as project insurance. If you don't end up needing it, fantastic—you can put it toward a 'want' from your list. But if you do need it, you'll be incredibly relieved it's there, preventing a budget crisis mid-renovation.
Mapping Out Your Project Checklist
Once your budget is sorted, the next step is to create your master checklist. This document will be your guide through the entire process, from the first spark of an idea to the final walkthrough. Breaking the project down into manageable phases makes the whole thing feel a lot less overwhelming.
Here’s what your checklist should cover:
- Research & Design: This is the fun part. Finalize your layout, choose a colour palette, and pull together a mood board that captures the look you're going for.
- Material Sourcing: Make a list of every single item you need to buy, from flooring and countertops down to the last light fixture and drawer pull. Knowing the ways you can buy reliable products without breaking the budget is a game-changer here.
- Hiring Trades: Figure out which jobs need a pro (think plumbing and electrical) and start collecting quotes from licensed, reputable tradespeople.
- Permitting: Get in touch with your local municipality, whether it's Coquitlam, Port Moody, or the City of Vancouver. You need to know if your scope of work requires building permits before you start.
- Scheduling: Put together a realistic timeline that coordinates the entire sequence of events, from demolition day all the way through to the finishing touches.
For a deeper dive into the numbers, our guide on how to create a budget for a kitchen remodel offers more detailed breakdowns.
Why a Pre-Project Assessment Is Worth It
Before you commit to any major work, I highly recommend getting a professional contractor to do a pre-project assessment. This is especially true for older homes or if you're planning on moving walls. An experienced eye can spot potential red flags you might miss, like signs of asbestos in old drywall or an undersized beam that won’t support your new open-concept dream.
Yes, this initial consultation might have a small upfront cost. But it can easily save you thousands in the long run by catching major issues before they turn into mid-project emergencies. It gives you a clear, professional take on whether your plans are feasible and helps you build a much more accurate budget from day one.
High-Impact Upgrades That Won't Break the Bank
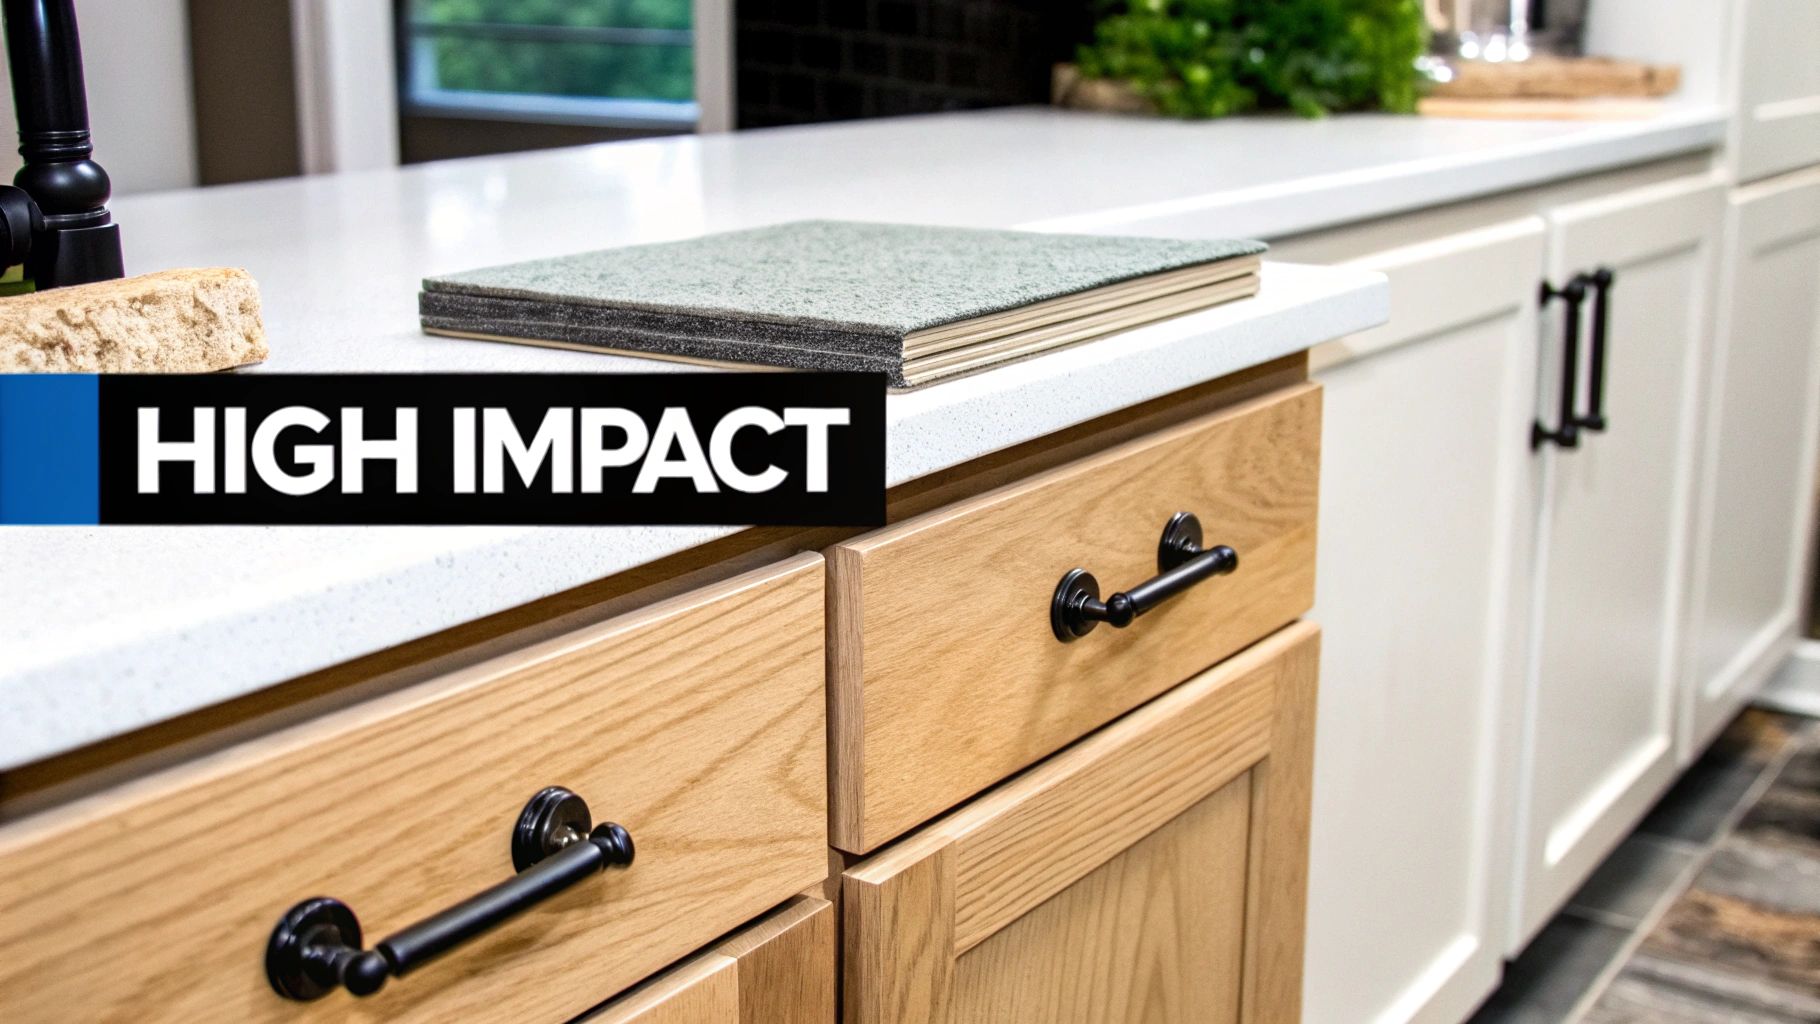
When you're renovating a kitchen on a budget, the real skill is in knowing where your money will make the biggest splash. It’s less about cutting corners and more about making smart, strategic choices. I’ve seen this play out on projects all over the Lower Mainland, from West Vancouver to Port Moody, and a few key areas consistently deliver that "wow" factor without a massive price tag.
The secret is focusing on the big visual surfaces—cabinets, countertops, and floors. Get these right, and you can completely transform the character of your kitchen. It's how you get a high-end look that feels way more expensive than it actually was.
Transform Your Cabinets the Smart Way
Your cabinets set the tone for the entire kitchen, so any change here feels huge. Ripping out perfectly functional cabinet boxes is one of the fastest ways to blow your budget. There are much savvier ways to go.
Professional Painting
Never underestimate the power of a professional paint job. A good painter can make tired, dated oak or laminate cabinets look brand new. Picking a modern colour—a soft white, a sophisticated grey, or even a bold navy—instantly updates the whole room. It’s a meticulous process that needs proper prep work to last, but the result is stunning for a fraction of the cost of new custom cabinets.
Cabinet Refacing
What if the cabinet boxes are solid, but the doors are just plain ugly? Refacing is your perfect middle ground. This involves replacing all the doors and drawer fronts and then applying a new, matching veneer to the exterior of the boxes. You get the look of a brand-new kitchen without the cost, mess, and disruption of a full tear-out.
We're seeing a lot of fantastic kitchen renovations completed for under $35,000 that lean heavily on this strategy. New custom cabinetry can easily hit $25,000 or more, but homeowners are cutting that cost by over 50% with refacing or painting, and the return on that investment is massive.
Countertops That Combine Style and Savings
Countertops are another make-or-break element. Of course, high-end marble or granite is beautiful, but the cost can be eye-watering. Luckily, today's alternatives look fantastic and are incredibly durable without the premium price.
- Laminate Countertops: This isn't your parents' laminate. Modern options from brands like Formica and Wilsonart offer incredibly realistic patterns that mimic everything from quartz to concrete. They’re tough, easy to clean, and by far the most budget-friendly choice.
- Quartz Countertops: As an engineered stone, quartz is a workhorse. It's non-porous, meaning it resists stains, scratches, and bacteria. While it costs more than laminate, it's often more affordable than natural stone and comes in a huge range of consistent colours and patterns.
Here's a pro tip: sticking to a more common colour or pattern in quartz can save you a good chunk of change compared to a more exotic design. It always pays to get quotes from a few local fabricators in areas like Burnaby or Richmond. For more ideas, you can check out our detailed guide on low-cost kitchen renovations.
Smart Flooring and Finishing Touches
Think of flooring, lighting, and hardware as the supporting actors in your renovation—they play a crucial role in pulling the whole look together and giving it that polished feel.
Cost-Effective Flooring Solutions
Luxury Vinyl Plank (LVP) is a game-changer for kitchens. It's completely waterproof, tough as nails, and much more comfortable to stand on than tile. It also comes in a huge variety of realistic wood and stone looks. Best of all, it's way more affordable than hardwood and can be easier to install, which saves on labour. For a really quick and simple upgrade, you could even look into high-quality peel and stick flooring.
The Power of a New Backsplash
A new backsplash is a small project with a huge style impact. Classic subway tile is still one of the most affordable and timeless choices out there. You can give it a custom look by laying it in a herringbone pattern or using a dark, contrasting grout. This is the perfect spot to inject a bit of personality.
Finally, don't forget the details. Swapping out clunky, dated cabinet pulls for sleek matte black or brushed brass handles is a quick DIY job that instantly modernizes the space. Likewise, getting rid of a single, central light fixture in favour of layered lighting—like pot lights for general brightness and a cool pendant over the island—makes your kitchen more functional and feel professionally designed. These are the little things that truly elevate the final result.
Sourcing Materials and Working with Trades in Metro Vancouver
Finding the right materials and the right people is half the battle in any renovation. And here in Metro Vancouver, where costs are what they are, making smart choices about where you shop and who you hire is absolutely crucial for keeping your kitchen project from spiralling out of budget. It's a balancing act, really—savvy shopping, an honest look at what you can DIY, and careful vetting of the pros.
Most people start their material search debating between big-box convenience and local expertise. Stores like Home Depot or RONA, with locations from Richmond to Port Coquitlam, offer competitive pricing and that one-stop-shop experience. This is perfect for standard items like paint, basic hardware, and some appliances.
But for the pieces that really give your kitchen its character—think countertops or that perfect backsplash tile—exploring local suppliers can be a game-changer. You'll often find better quality and more personalized service. These smaller shops usually have incredible product knowledge and can point you to unique materials you won't find in a massive chain store, sometimes at surprisingly good prices.
Where to Find Budget-Friendly Materials
When you're renovating a kitchen on a tight budget, thinking outside the big-box store can lead to huge savings and a much more unique result. The Lower Mainland has some fantastic spots for sourcing affordable, high-quality materials if you know where to look.
- Reclaimed and Salvage Shops: These places are goldmines for character-rich items. You might stumble upon a vintage sink, unique cabinet hardware, or solid wood doors for a fraction of what they'd cost new.
- Habitat for Humanity ReStore: With locations all over Metro Vancouver, the ReStore is an amazing resource. I've seen clients find everything from gently used cabinets and appliances to lighting fixtures and flooring. The inventory changes daily, so it pays to pop in often.
- Local Wholesalers and Outlets: Keep an eye out for suppliers in the industrial areas of Burnaby or Richmond. Some sell directly to the public or have outlet sections with discounted, end-of-line, or slightly imperfect stock. It's a great way to get high-end tile or flooring for less.
Don’t forget about online marketplaces. So many local homeowners and even contractors sell leftover materials like unopened boxes of backsplash tile or brand-new faucets. A quick search can literally save you hundreds on materials that are otherwise brand new.
The Great Debate: DIY vs. Hiring a Pro
Deciding what to tackle yourself and when to call in a professional is one of the most important calls you'll make. Labour is a massive chunk of any Vancouver renovation budget, so doing some of the work yourself can free up a lot of cash for other priorities.
Certain tasks are just made for a handy homeowner with a bit of patience and an eye for detail. These are the jobs where a mistake isn't catastrophic and, more importantly, doesn't pose a safety risk.
Good DIY Projects Include:
- Demolition: Carefully tearing out old cabinets, countertops, and flooring.
- Painting: A fresh coat of paint on walls, trim, or even cabinets is a high-impact, low-cost job you can definitely do yourself.
- Assembling RTA Cabinets: If you can build IKEA furniture, you can assemble ready-to-assemble cabinets.
- Installing Cabinet Hardware: This is a simple finishing touch that just requires a drill and a measuring tape.
However, some jobs are non-negotiable. These must be left to licensed and insured professionals. This isn't just about the quality of the finish; it's about safety and complying with BC's building codes. One mistake with wiring or plumbing can lead to dangerous situations, void your home insurance, and cause major headaches when you eventually sell.
Always Hire a Licensed Professional For:
- Electrical Work: Moving outlets, adding new lighting, or touching any wiring.
- Plumbing: Relocating a sink, dishwasher, or icemaker line.
- Gas Fitting: Anything involving a gas stove or cooktop. Period.
- Structural Changes: Removing a wall or altering anything that might be load-bearing.
Finding and Vetting Your Trades
Finding reliable tradespeople can feel like a daunting task. A good general contractor is invaluable here, as they come with their own trusted network of electricians, plumbers, and carpenters. They run the whole show, making sure everything is done to code and stays on schedule. To get a better handle on what they do, it's worth learning about the benefits of working with kitchen renovation contractors in Vancouver.
If you’re hiring trades directly, always get at least three detailed quotes. A proper quote should break down the costs for materials and labour separately. Be wary of any quote that's way lower than the others—it could be a red flag for inexperience or cut corners. Before you sign anything, double-check for valid licenses, WorkSafeBC coverage, and liability insurance. It’s your best protection.
Your Project Checklist: From Demolition to Done
Okay, you’ve got your plans finalized and your materials are either on-site or on their way. Now for the exciting part—making it all happen. This phase can feel like a whirlwind, but a solid checklist will break the entire project down into manageable, bite-sized pieces.
When you're renovating a kitchen on a budget, following the right order of operations is everything. Get it wrong, and you could be looking at expensive rework and a timeline that blows up. This guide lays out the typical flow for a kitchen remodel, from the first day of demolition to that final, satisfying moment when you can pour a drink in your new space.
Think of this as your project management playbook, whether you're coordinating a team of trades from across Metro Vancouver or tackling a big chunk of the work yourself.
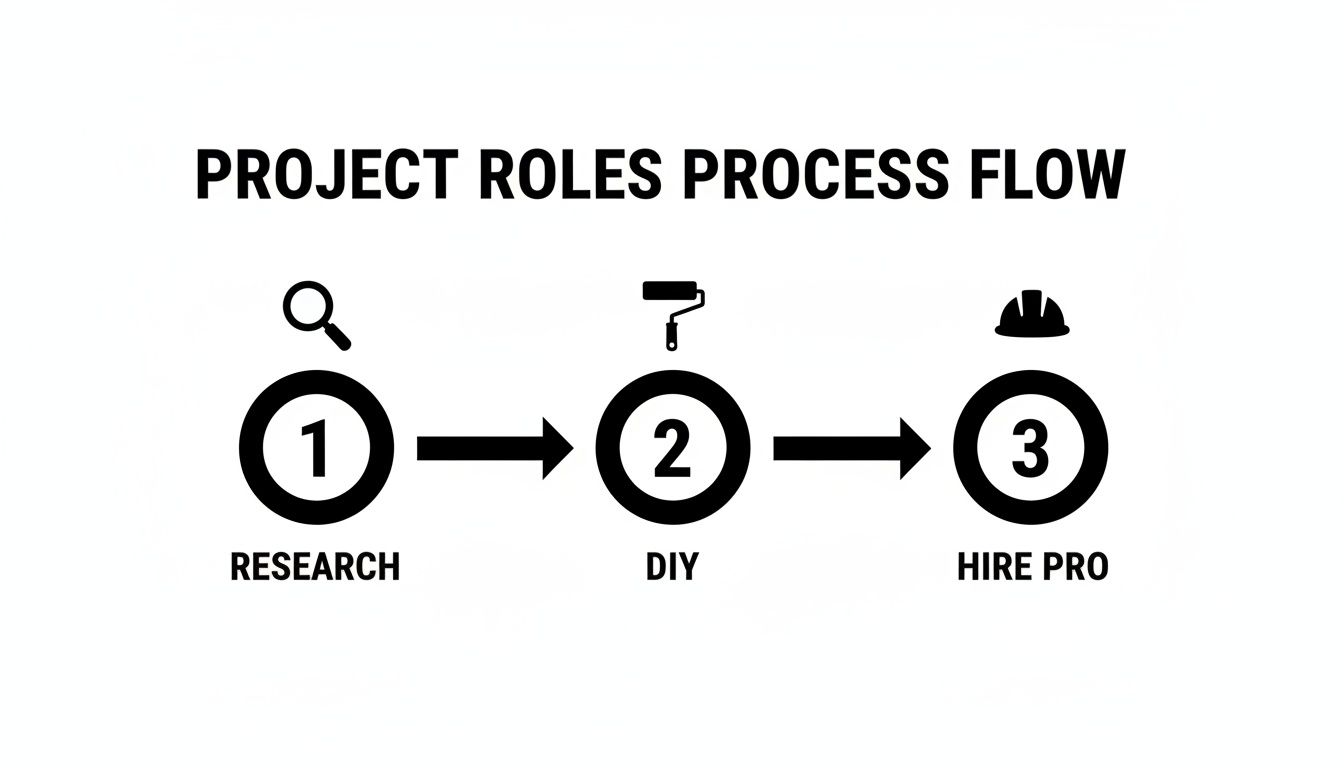
As you can see, no matter which path you take—DIY or hiring out—it all starts with doing your homework.
Phase 1: Prep and Demolition
Before a single hammer swings, you need to protect the rest of your home. Seal off the kitchen with plastic sheeting to keep the dust contained. Trust me, it gets everywhere. If you're hoping to reuse or sell your old appliances and cabinets, move them to a safe spot now.
I also highly recommend setting up a temporary kitchen somewhere else. A microwave, a coffee maker, and a mini-fridge can be a real lifesaver and make living through the chaos a lot more bearable.
With the area prepped, demolition can begin. This is where you carefully take out the old cabinets, countertops, flooring, and any non-load-bearing walls you've planned to remove. Critically, always shut off the water, electricity, and gas to the kitchen before you start tearing anything out.
Phase 2: The "Behind-the-Walls" Work
Once you're down to the studs, it’s time for all the crucial work that gets hidden away. This is when your licensed plumbers and electricians step in to handle the rough-ins. They'll run new wiring for your lighting and outlets, and shift any plumbing for the sink or dishwasher.
This work must be completed and then inspected by your local municipality (whether it’s the City of Burnaby, the City of North Vancouver, or elsewhere) before you can even think about closing up the walls.
After the rough-ins get the green light, insulation goes in, and the new drywall is hung, taped, and mudded. Then comes priming and painting the ceiling and walls. It’s so much easier to get a clean paint job done now, before all the new stuff starts coming in.
My Two Cents: Don't skimp on the primer. Apply at least two good coats on any new drywall. It properly seals the surface so your final paint colour looks uniform and rich, instead of getting sucked right into the porous drywall.
Phase 3: Bringing the Vision to Life
Here’s where things get really exciting, and you can see the new kitchen taking shape. We always work from the top down.
First up: cabinets. Installing them before the floor goes in prevents any accidental scratches or damage to your brand-new flooring.
Next is the flooring. Whether you’ve picked luxury vinyl, laminate, or tile, laying it after the cabinets are in means you're not paying for material that will be hidden under the cabinetry. It's a simple way to save a few bucks.
With the base cabinets securely installed, the countertop company will come to create a precise template. They’ll take that back to their shop for fabrication, which usually takes a week or two. Then they’ll return to do the final install.
Phase 4: The Finishing Touches
The major components are in, and now it’s all about the details that pull the entire look together.
- Backsplash: Your tile or slab backsplash goes up now, tying the countertops and cabinets together.
- Appliances: The fridge, stove, dishwasher, and microwave are all delivered and installed.
- Fixtures: The plumber and electrician come back for what’s called the "final fit." They’ll install the sink, faucet, garbage disposal, light fixtures, switches, and outlets.
- The Details: Finally, you'll install cabinet handles and pulls, attach the toe-kicks, and do any last-minute paint touch-ups.
Your last step is scheduling the final plumbing and electrical inspections. Once you’ve passed those, your kitchen is officially complete. Time to celebrate!
Sample Budget-Friendly Kitchen Renovation Checklist
To help you keep track of everything, here’s a simple checklist that breaks down the entire process. Sticking to a clear plan like this is the best way to keep your budget-conscious reno on track from start to finish.
| Phase | Key Tasks | Budget Tip |
|---|---|---|
| 1. Planning & Research | Define priorities, set a firm budget, get quotes from trades, create a design layout, and apply for any necessary Vancouver building permits. | Get at least three quotes for every major job. This gives you negotiating power and a clear sense of fair market pricing. |
| 2. Material Sourcing | Order cabinets, countertops, appliances, flooring, tile, and lighting. Check for sales, floor models, or scratch-and-dent appliance deals. | Buy materials yourself whenever possible to avoid contractor markups. Look for deals at places like Habitat for Humanity ReStore. |
| 3. Preparation | Set up a temporary kitchen space. Clear out the old kitchen. Seal off the renovation zone with plastic sheeting to control dust. | Carefully remove and sell old cabinets or appliances online. Even a few hundred dollars helps the budget. |
| 4. Demolition | Shut off utilities (water, gas, electric). Remove old cabinets, countertops, flooring, and appliances. Remove any non-structural walls as planned. | Handle the demolition yourself. It's labour-intensive but requires minimal skill, saving you significant labour costs. |
| 5. Rough-Ins & Framing | Frame any new walls. Have licensed electricians and plumbers complete electrical and plumbing rough-ins. Schedule and pass the mandatory rough-in inspections. | Group all your plumbing and electrical work together to minimize the number of site visits and hourly charges. |
| 6. Walls & Ceilings | Install insulation. Hang, tape, and mud new drywall. Prime and paint the ceiling and walls before cabinets are installed. | Painting is a fantastic DIY job. Do it yourself and save hundreds, if not thousands, on painter fees. |
| 7. Installation | Install new cabinets (uppers and lowers). Install new flooring. Have countertops templated and installed. Install backsplash tile. | Choose materials like luxury vinyl plank (LVP) flooring that are DIY-friendly to install. |
| 8. Final Finishes | Install all appliances. Have the plumber and electrician return for the final fit-out (sink, faucet, lights, switches). Install cabinet hardware. Attach toe-kicks and complete final paint touch-ups. | Install your own cabinet hardware. All you need is a drill and a template to save on an hour or two of labour costs. |
| 9. Final Inspections | Schedule and pass final plumbing and electrical inspections with your local municipality. | Ensure all work is done to code the first time to avoid the cost and hassle of re-inspections. |
Following these steps in order is your roadmap to a successful, on-budget renovation. It ensures that you're not backtracking or creating more work (and cost) for yourself along the way.
Got Questions About Your Budget Kitchen Reno? We've Got Answers.
When you're starting to plan a kitchen renovation, a lot of questions will inevitably pop up. It’s a big project with a lot of moving parts, and getting clear answers is the best way to feel confident moving forward. Let’s dive into some of the most common questions we hear from homeowners around Metro Vancouver.
How Much Should I Actually Budget for a Vancouver Kitchen Renovation?
This is the big one, isn't it? For a smart, cosmetic-focused renovation in the Vancouver area, a realistic starting point is between $25,000 and $40,000. This budget will get you a lot of bang for your buck, covering high-impact updates like painting or refacing cabinets, swapping in new countertops and a backsplash, and upgrading your light fixtures. The key here is that you're working with your kitchen's existing layout.
If you're thinking bigger, a mid-range remodel that includes new semi-custom cabinets and better appliances typically lands in the $40,000 to $75,000 range. For a full gut job—where you’re moving walls, changing the plumbing, or rewiring—you’ll be looking at $75,000 as a starting point, and it can climb quickly from there.
Pro Tip: No matter your budget, set aside a contingency fund of 15-20%. Think of it as non-negotiable. It's the safety net for those "uh-oh" moments that are almost guaranteed to happen, especially in older Vancouver homes.
Do I Really Need a Permit for This?
In most Metro Vancouver municipalities, from Burnaby to Richmond and Port Coquitlam, the short answer is yes—if you’re touching your kitchen’s core systems. Any work that involves moving a sink, adding new electrical outlets, or changing where your lights are located will require both plumbing and electrical permits, which also means they’ll need to be inspected. This isn't just red tape; it ensures everything is done safely and meets the current BC Building Code.
But what if you're just giving the space a facelift? If your reno is purely cosmetic, you likely won't need a permit. This includes things like:
- Painting your existing cabinets.
- Replacing a faucet in the exact same spot.
- Installing a new backsplash on an existing wall.
When in doubt, always check directly with your city’s building department. The rules can be slightly different between, say, the City of North Vancouver and the District of North Vancouver. Of course, any good general contractor will handle all the permitting for you as part of their service.
What's the Best Way to Save Money on Kitchen Cabinets?
Cabinets are almost always the single biggest line item in a kitchen budget, so this is where you can find some serious savings.
The most budget-friendly move is refacing. You keep your existing cabinet boxes but get all-new doors, drawer fronts, and hardware. A professional paint job is another fantastic option. Either way, you get the look and feel of a brand-new kitchen for a fraction of what a full replacement would cost.
Another strategy we see a lot is using ready-to-assemble (RTA) cabinets from places like IKEA. To make them feel less "off-the-shelf," you can pair the IKEA boxes with semi-custom doors from a local company. This little trick gives you a unique, high-end look without the custom price tag.
Can I Do Some of the Work Myself to Save Cash?
Absolutely! Putting in some "sweat equity" is one of the best ways to bring down the significant labour costs that come with a Vancouver renovation.
There are plenty of jobs a handy homeowner can tackle. Things like demolition (carefully!), painting the walls and trim, assembling those RTA cabinets, and installing new handles and pulls are all fair game.
However, some jobs need to be left to the licensed and insured pros—no exceptions. This means all electrical, plumbing, and gas fitting. Trying to DIY this stuff isn't just dangerous; it can cause massive headaches with your home insurance and create big problems if you ever decide to sell.
Ready to turn your vision for a beautiful, budget-friendly kitchen into a reality? The team at Domicile Construction Inc. has the local expertise and hands-on experience to guide you through every step of the process. Contact us today to discuss your project.